Showing posts with label white. Show all posts

Wednesday, 23 May 2012

mini shelf unit


So, this is the other half of the box frame, that I wrote about here.


Those dividing pieces were really stuck to the tongue and groove, so it gave me an idea.
I bashed out the diagonal pieces, cut them down and moved them. There were bits of wood and glue that I couldn't remove, so I decided to cover it all in plaster. I had a large tub of cheap wood filler, so I used that.


I did thin layers of plaster and made sure it dried out between each coat. When the middle sections were done, I found some wood to make a frame.


Ok, so nothing fitted or joined up, but I just kept filling and painting, filling and painting.

In the end I had a mini unit for loads of little things that have been in a drawer. I know that some of them are pretty tacky and twee, but they are sentimental, and I found a nice little space in the corner of the guest room that I am trying to finish.


The only things I'm really NOT attached to, are the teapots. I bought them about 20 years ago and loved them then, but not any more !


The silver piece on the right is a silvered champagne cork commemorating the birth of my oldest friend's son. The brightly coloured dish and the one below are metal enamelled dishes from china. I bought them when I was a child, from a jumble sale.


When I was young I wasn't interested in dolls. I would go to a shop called Pauline Lovell, in Sevenoaks (it's no longer there), and buy knick knacks, like the ones below. They had a craft shop as well, and I would go there for fabric and beads.


Both of the things below were gifts - a little tiny powder compact and a small hand mirror, with stitching on the back.


I have a really cute little silver mirror, but no idea where it came from - you can just see little ribbons and flowers etched onto the back. Next to it, is a tiny box set of four Winnie the Pooh books - greatly faded as it was also purchased 30 or 40 years ago !


I've been writing this post while staying at my friend Pandy's house, and she informs me that I promised the teapots to her !!  Brilliant - she loves collections, and she has a few of the teapots already (and a much larger house), and I get to gift them (which feels better great) and display a couple of other things I recently found.

And, the cost of all this? Well, the whole box frame was £5, and I used half for each project, and everything else I had already. So that's £2.50 for my mini plastered shelf !

As you can see, the walls of my mini guest room are white - well what else could I chose.
Anyway, the room really is tiny - white makes it feel larger. 
More on that soon !

linking up with
Metamorphosis Monday @ Between Naps on the Porch
Terrific under ten Tuesdays @ At Home With K
Cowgirl Up @ The Farmhouse Porch

Weekend wrapup Party @ Tatertots & Jello
Saturday Showoff @ Nutmeg Place
Spotlight Saturday @ Classy Clutter
Sunday's Best @ My 1929 Charmer


Friday, 10 February 2012

faux antique tin !


 I've been thinking about some decoration for my little hatch
doors for some time. I really like patterned tin, so I was thinking
of a way to replicate it, at very little cost. I looked at tin foil roasting
trays but they had too many ridges, then I checked out some wallpapers.


I found a few that I liked in a large store, and as you're allowed to take samples
I tore off about 18 inches !

I did a test piece first and it worked really well, so then I stuck two pieces
on one side of the doors - using the pattern like a mirror image.


Then I cut the main pattern in half to use on the other side of the doors.


I cut a little cross in the paper, to go over the screw heads. We don't need knobs
on this side because we just push the doors open if necessary. The bumps will
disappear with the painting.

I stuck them both on, using a glue stick, in case I want to take it off.
I painted them 'liqourice' using a match pot I had.


Then I used a candle to rub wax over the pattern. This resists the paint and
helps to protect the paper, when you come to rubbing it back.

Then I painted three layers of white on all the wall-papered sections
and rubbed them gently with sandpaper.


I'm really pleased with how it has worked out on both sides.


The living room side will fit in more with the gallery wall I am working on.


And the kitchen side gets a little bit of detail, that is just enough.


Not quite chipped and shabby antique tin, but I'm happy and the dear
old geezer and his daughter have both given me the thumbs up
and that's good enough for me !
And what's more, this was one of those 'no cost' projects !!!

Linking up with
Wow Us Wednesdays @ Savvy Southern Style
Primp Your Stuff Wednesdays @ {Primp}
Open House Party @ No Minimalist Here
Transformation Thursdays @ The Shabby Creek Cottage
Under $100 Linky Party @ Beyond The Picket Fence
Feathered Nest Friday @ French Country Cottage
Inspiration Friday @ At the Picket Fence
Fridays Unfolded @ Stuff and Nonsense
Pot Pourri Friday @ 2805
Home Sweet Home @ The Charm of Home
Saturday Nite Special @ Funky Junk Interiors
Spotlight Saturday @ Classy Clutter
Sunday's Best @ My 1929 Charmer
Debbiedoos Newbie Party @ Debbiedoos
Metamorphosis Monday @ Between Naps on the Porch
Terrific under ten Tuesdays @ At Home With K
Take-a-look Tuesdays @ Sugar Bee crafts
Nifty Thrifty Tuesdays @ Coastal Charm
Show me what ya got @ Not Just a Housewife

Saturday, 14 January 2012

beach junk

I'm not quite ready to start my 'impossible' challenge yet (see post before this) but I have been
playing with some stuff I found on the beach.

 Worthing Beach, West Sussex - last week !
I have collected shells in the past, but recently I have been picking up all sorts of things.
This is my haul so far.


 I really like finding things now, and can't stop looking (even if my little dog would
sometimes rather go to the park !).
I love the simplicity of these things, and the unique way that time
and the sea has aged and softened them. 

First, I took the rusty wire mesh from above, and a pine frame I bought last year for £3.


I painted the frame white, because I want it to stand out against my stencilled walls,
 ( see here )
and distressed it. Took out the glass etc. and stapled the mesh in the back.
And voila -


This is a photo of my brother and I when we were 6 and 4 !!!
I love the contrast of the rust and distressed frame against my walls.


A valentine selection. The gorgeous little metal tag came on a Christmas present.


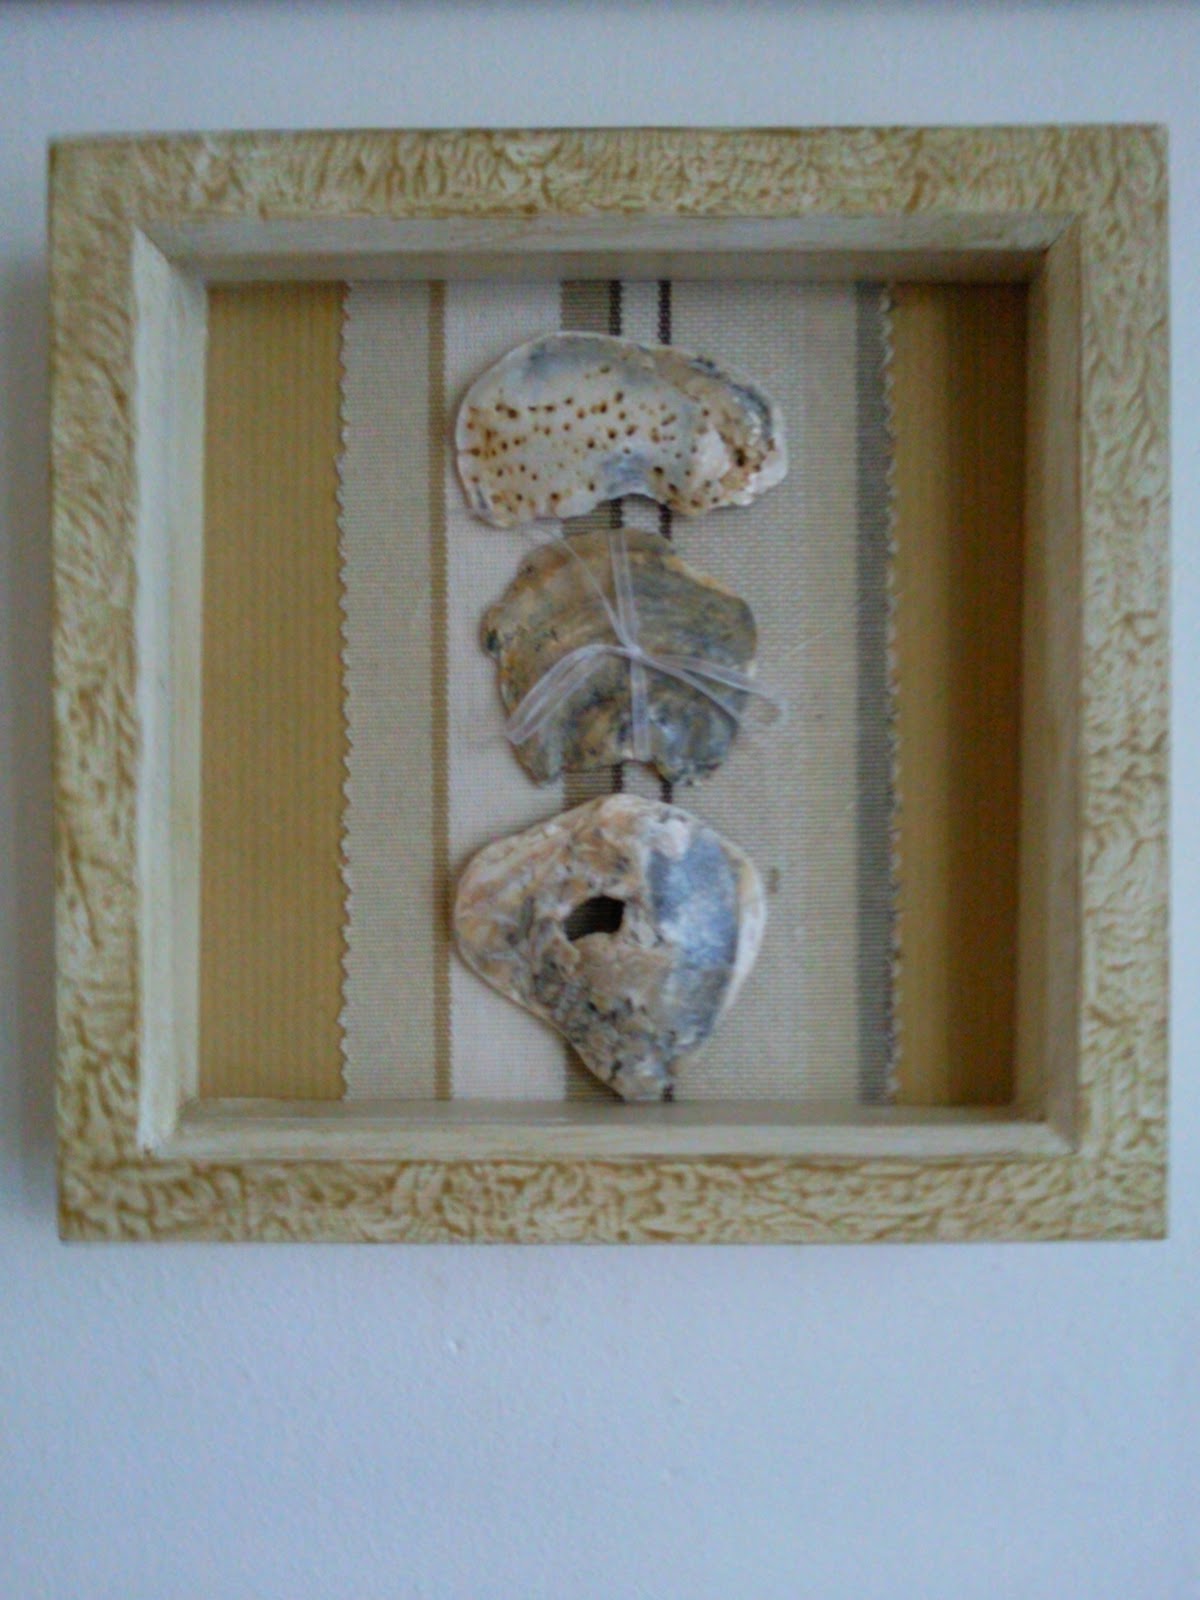
Next I took a box frame, which cost about £3.50
 (I have been storing stuff for a few months),
and added some brown paper, a fabric sample, some shells, and a little organza ribbon.


I painted the frame with one of the colours from the stencilled wall, because this will
probably end up on the opposite 'white' wall, in a group of pictures.


I have a plan for the large pieces of driftwood, that I am really excited about.
The box frame turned out so well that in the future I will frame some more of my haul.
But the best thing about this project - I didn't go out and buy anything, just used what I had !

Well folks, I must get on, it's Saturday morning and the poor dog is making sad little
whining noises, because I haven't said the 'W' word yet.

linking up with
Saturday Nite Special @ funky junk interiors
Pot Pourri Friday @ 2805
Inspiration Friday @ at the picket fence
Vintage Inspiration Friday @ common ground
Whatcha Got Weekend @ lolly jane boutique
Debbiedoos Newbie Party @ Debbiedoos
Nifty Thrifty Tuesdays @ Coastal Charm
Primp your stuff Wednesdays @ {primp}

Sunday, 1 January 2012

goodbye 2011 hello 2012 !

Last night I went and watched the old geezer's band playing at a pub in town. They go down well at New Year, because they play a lot of Irish jigs, which always gets people up and dancing.
See them here and here.


And today I've put away all the Christmas decs. I would normally leave them out longer, because our holiday season is quite short here - but I really feel the need to get on.

And I decided to do a little post Christmas mantle - inspired as always by blogland
and the many ever-changing mantle vignettes.

It normally looks like this -


But now it looks like this -


I used the white twigs I had added to my wreath. The larger topiary trees that I made about 15 years ago, were here anyway. The smaller ones are from my little office. I made them from eucalyptus leaves and put them in little metal pots that have a lovely patina.
An old chess board and some fir cones finish it off.
But I felt I wanted something else (there definately ain't no minimalist here either), went to my office and saw the candle sconces.


As I have mentioned before - it is rather full, but I am trying to find the right place for everything.

They were one of the things that I first painted white when we sold the cafe - and why I named this blog the way I did. I knew they would balance out the vignette. I just put two small nails in the frame, that way I can always take them out. And I'm really happy with it.


It's very hard to take pictures because of seeing my reflection in the mirror, but I love it here.
Next to tackle in this room - I want a couple of shelves on either side of the fireplace,
and radiator covers.

I haven't made a list for 2012 because I always have about 5 lists on the go anyway.
1. Little touch up jobs around the house.
2. Which pieces of furniture need painting for us.
3. Which furniture needs painting to sell.
4. What I'd like to do to each room.
4. Ideas I have for pictures and paintings for us, and to sell.

2012 is going to be pretty busy, because I need to work as well.
And of course blogging is pretty addictive and takes up quite a bit of time !!!


Friday, 30 December 2011

my finished kitchen !!!


At last it's done. Can you believe we actually started it in June, but then life got in the way ie. working for a living, and choices to be made, with finances taken into account.

Just a couple of notes first -
1)   We DON'T really like the unit doors, BUT financially we couldn't do everything.
Our biggest expense was having a new boiler and having it moved, including all the pipework.
It cost loads and added to the other necessary items, the doors will have to stay for now.
I know I can paint them, but these doors are a horrible kind of plastic shrink wrap and I don't think the paint would survive - not in our household anyway !!!

What we did change -
the oven and hob,
the sink and taps,
the work surfaces,
the back door,
the flooring,
and the fridge freezer.

Then we added a couple of new units, shelving, the cupboard door, and the wall covering.


My old geezer in a BEFORE pic. Luckily his 12 year old daughter took these photos of her Dad at work as I took none - I didn't blog then !!!

You can just see the fridge freezer that used to be in the space on the left at the back, and the boiler.
The ceiling had been re-plastered ages ago and we hoped to have at least one wall of exposed bricks, but they weren't any good.


THE AFTER - a shot taken at virtually the same angle.


Another BEFORE shot.

There's the ghastly old boiler, the dropped ceiling, that accommodates a section of the stairs, and three layers of tiles, that the old geezer is trying to prise off.


And AFTER.

The wall units came from the other side (they seriously blocked out the light).
One new double unit at the end. A new fridge and freezer (well actually second hand off ebay, but in very good condition). Re-purposed wood into new shelves (no cost). And of course a new work top.

Before this, there were two butchers blocks and a little drinks fridge here - so hardly any work top at all. And also there was yet another inbuilt cupboard at the end, but we blocked this off because it can be reached via the hall.


And the last BEFORE shot I have.
Old oven and extractor fan, beech effect doors AND work top AND floor actually !

And NOW.


My nice new induction hob and oven. Less cupboards getting in my way. New 'cashmere white' worktop - it's the best we could find for our budget.


Another view. The wall units used to be here blocking out the light !
My new ceramic sink (ebay), and taps (local diy store) and OOPS I've forgotten to silicone round the sink (truthfully I've been putting it off because it's not easy stuff to use).
Also apologies - please don't look out the window. The 'lean to' (not posh enough to be called a conservatory) needs some serious work.

I love my little fan, but even more I love the little pully system that opens the top window.


This house was built in 1935 and this is original, so I can't bring myself to re-string it or change the 'ends', but perhaps I should ?

Other favourite things - my little hooks,


Painted white of course.


My duallit toaster - a gift ! Everyone should have a best friend like Pandy.


My £3.00 shelf, which I wrote about here


And the doors I wrote about here


and here


And I'm loving the new darker laminate - you can see the old one in the hall in this picture.
We have enough of this to do the whole ground floor, and it was on sale. What would have cost us about £500, cost us £250 - for the whole lot.


So, it's done YIPEE. I love my new kitchen and so it's onto the hall - I may just be injecting a little bit of colour, and thanks if you stayed for the whole post. You know what it's like though - keeping a diary like this is quite a cathartic process.


Thanks to everyone who visits x
comments xx
follows xxx

All the best to all of you for 2012
xxxxxxxxx

linking up with
2805

French Country Cottage

Photobucket

Funky Junk's Saturday Nite Special


Debbiedoo's blogging and blabbing