Showing posts with label driftwood. Show all posts

Friday, 7 September 2012

radiator curtains (as opposed to cabinets)


Last December, my living-room looked like this. 


Then for a while it looked like this, after I stencilled the walls.


As a trial for my Impossibilities Challenge, I put up two floating shelves, one on each side.


In May, the old geezer finally put up the other two shelves over the radiators for me. 
(We don't like to hurry things around here !)

I had visions of building radiator cabinets underneath the shelves,
but the wood has warped, so we are going to see what happens when we
put the rads on, in the winter.

For now I have made burlap curtains !


They are a bit more see-through than I would have liked, but I could line them I guess.
I am not quite sure why I can't take a straight photo, I rarely drink alcohol. 
I think my house is wonky !


With stuff on the mantle as well, it's looking rather overcrowded in the photos, but 
sitting here, it all looks lovely to me. A minimalist I am not.


I finally have the perfect place for my lightbulb light. The cord tucks down the back.
I haven't caulked the shelves in case they do warp.


I rescued the basket from the garden.


Driftwood from the beach.


I really liked my beachy mantle, so when I removed it, I put some things under this large cloche.


I still have a beast of a tv (it's looking hopeful, that we may soon get a replacement)
and
I love the fact that in the next holiday season, I now have loads of places to display
 more shit stuff.


linking up with
Tuesdays Treasures @ My Uncommon Slice of Suburbia
Nifty Thrifty Tuesdays @ Coastal Charm
Cowgirl Up @ The Farmhouse Porch
Knick of Time Tuesdays @ Knick of Time
What's It Wednesday @ Ivy and Elephants
Wow Us Wednesdays @ Savvy Southern Style
Primp Your Stuff Wednesdays @ {Primp}
All Star Block Party @ Full Circle Creations
Open House Party @ No Minimalist Here
Pot Pourri Friday @ 2805
Feathered Nest Friday @ French Country Cottage
Vintage Inspiration Friday @ Common Ground
Frugal Friday @ The Shabby Nest

Sunday's Best @ My 1929 Charmer
Sunday Showcase Party @ Under The Table and Dreaming


Monday, 28 May 2012

my 'Pass It On' gifts


You can find out about The Pass it On Project here. You gift a couple of things to other bloggers, and they keep one and give the other to a friend. Then, they pass on the blogger gratitude by sending two gifts each, to any of their own blogger friends, and so it goes on.


The bloggers I chose, Danielle at Silver Pennies and Maureen at It's All Connected have received their gifts, so now I can reveal what I made.

It took me ages to come up with the idea. I kept thinking of framing beach junk, but I felt that I wanted to create something that could be used.

I was looking around my studio and was suddenly inspired by this.


A bag for twine that I bought in a friends shop, years ago.

I bought some balls of twine, an eyelet kit, some toggles and some fabric. It was called 'scrim', but I guess it's similar to burlap. Anyway, it was close to the original.

I looked in my trunk of material for some contrast fabric and found some blue silk (Danielle loves blue) and a piece of fabric with Spode's Blue Italian pattern printed on it (Maureen likes Willow pattern china). I used to sell Spode china years ago, and I must have had a piece to make a tablecloth.  

In the end I just used the blue and white fabric because it looked so effective.


I really liked the selvage, so I was able to use it on the front of the bag.

I cut out some pieces for the front, that are from the edging pattern of Blue Italian, not the scene.


I had to unpick the stitching of whatever had been made before. I frayed the edges, and just used the eyelets to hold them in place (also, the tighter weave of the cotton, would hopefully make the eyelets stronger).

Putting in eyelets is THE best fun. Using a heavy duty hammer is always a pleasure - lol - and I feel many more projects with eyelets coming up in the future !

The toggles I bought wouldn't actually go through the eyelets (clever me, huh !), and anyway, they were plastic so I discarded them. I couldn't find any tiny wooden toggles or even long beads to fit, so was struggling for a few days.

I had a lightbulb moment in a shop - why not use driftwood.

I had to break up a piece and sand the edges and then glue them onto the string.  The glue is a little bit visible, but it couldn't really be helped, and I think they look really cute.


The string is attached to the inside of the back of the bag. It is knotted at the top to make a loop for hanging, and then the other end is attached to the toggle, so that the bag sits neatly when hung.


You then put a ball of twine in the bag and feed the end through the other hole (I think the picture above is the one where I got hammer-happy and bashed the eyelet too much. Luckily I made 5 bags, for just such an eventuality !).


So, thanks once again to Natalie  for passing on some wonderful gifts to me, which you can read about here. And also to Karah at The Space Between for the original idea. I'm now looking forward to seeing what Maureen and Danielle come up with !


probably linking up with some parties soon !


linking up with
Motivate me Monday @ Keeping it Simple
Take-a-look-Tuesday @ Sugar Bee Crafts
Cowgirl Up @ The Farmhouse Porch
Wow Us Wednesdays @ Savvy Southern Style
Whatever Goes Wednesday @ Someday Crafts
Link Party Thursday @ Somewhat Simple
Inspiration Friday @ At the Picket Fence
Frugal Friday @ The Shabby Nest
Air Your Laundry (Friday Textile Party) @ Freckled Laundry
Saturday Nite Special @ Funky Junk Interiors
Showoff Saturday @ Nutmeg Place
Sunday's Best @ My 1929 Charmer
Sunday Showcase Party @ Under The Table and Dreaming


Saturday, 14 January 2012

beach junk

I'm not quite ready to start my 'impossible' challenge yet (see post before this) but I have been
playing with some stuff I found on the beach.

 Worthing Beach, West Sussex - last week !
I have collected shells in the past, but recently I have been picking up all sorts of things.
This is my haul so far.


 I really like finding things now, and can't stop looking (even if my little dog would
sometimes rather go to the park !).
I love the simplicity of these things, and the unique way that time
and the sea has aged and softened them. 

First, I took the rusty wire mesh from above, and a pine frame I bought last year for £3.


I painted the frame white, because I want it to stand out against my stencilled walls,
 ( see here )
and distressed it. Took out the glass etc. and stapled the mesh in the back.
And voila -


This is a photo of my brother and I when we were 6 and 4 !!!
I love the contrast of the rust and distressed frame against my walls.


A valentine selection. The gorgeous little metal tag came on a Christmas present.


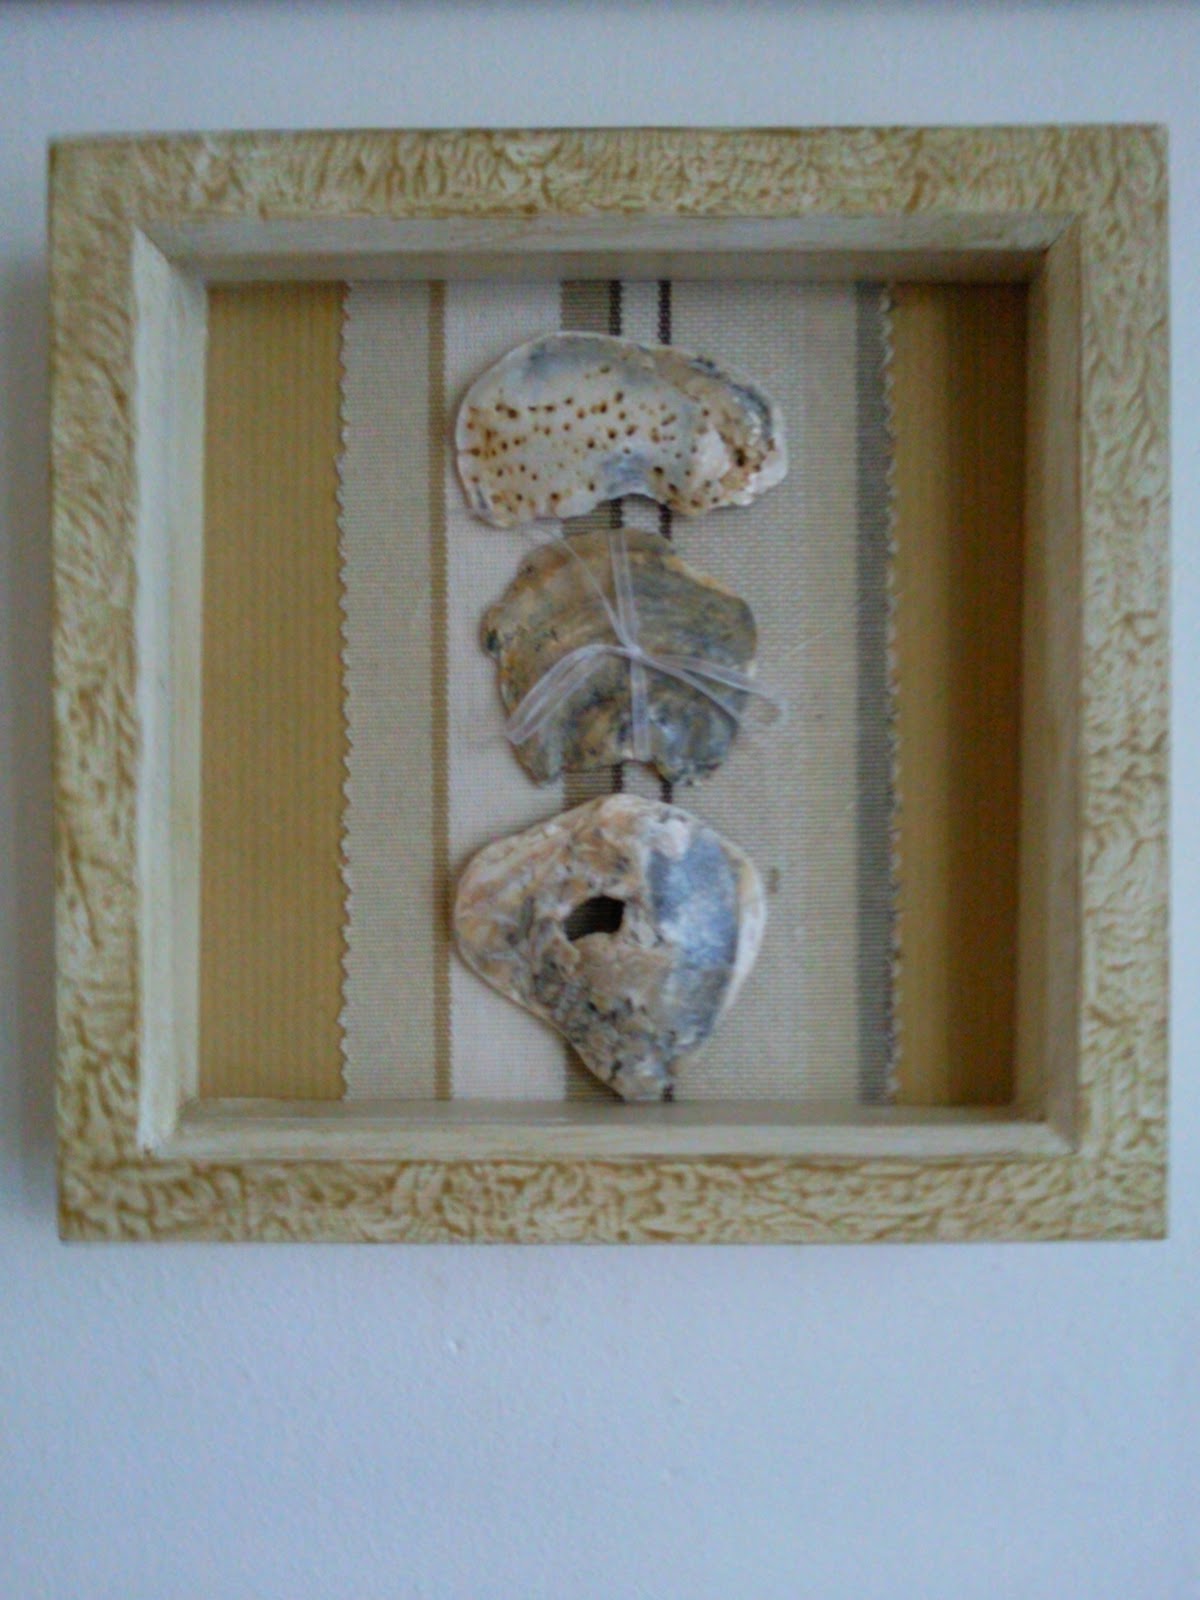
Next I took a box frame, which cost about £3.50
 (I have been storing stuff for a few months),
and added some brown paper, a fabric sample, some shells, and a little organza ribbon.


I painted the frame with one of the colours from the stencilled wall, because this will
probably end up on the opposite 'white' wall, in a group of pictures.


I have a plan for the large pieces of driftwood, that I am really excited about.
The box frame turned out so well that in the future I will frame some more of my haul.
But the best thing about this project - I didn't go out and buy anything, just used what I had !

Well folks, I must get on, it's Saturday morning and the poor dog is making sad little
whining noises, because I haven't said the 'W' word yet.

linking up with
Saturday Nite Special @ funky junk interiors
Pot Pourri Friday @ 2805
Inspiration Friday @ at the picket fence
Vintage Inspiration Friday @ common ground
Whatcha Got Weekend @ lolly jane boutique
Debbiedoos Newbie Party @ Debbiedoos
Nifty Thrifty Tuesdays @ Coastal Charm
Primp your stuff Wednesdays @ {primp}